
I’ve worked with a lot of outdoor setups—tiny patios, awkward side yards, big open backyards—and the biggest mistake people make is designing for one use. A dining area that only works for dinner. A lounge space that only works when the sun hits just right. It looks great… until real life happens.
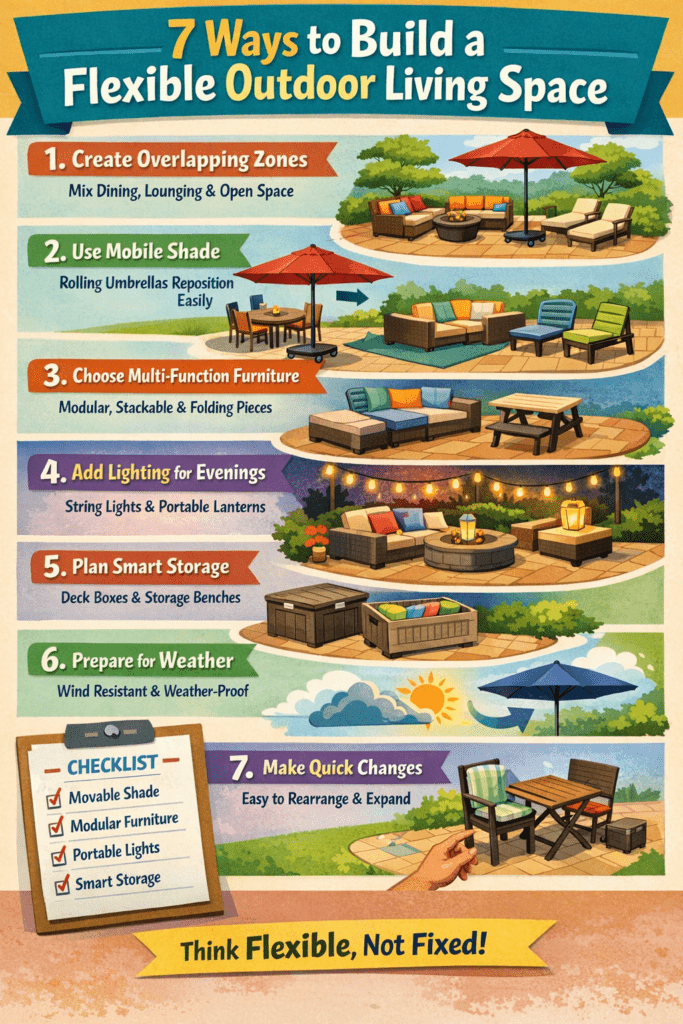
A flexible outdoor living space solves that. It adapts. Morning coffee, afternoon shade, evening entertaining—it all works without dragging furniture across the yard every time.
The goal isn’t perfection—it’s function that shifts with your day.
Start With “Zones That Can Overlap”
Instead of hard sections (dining here, lounging there), think in soft zones:
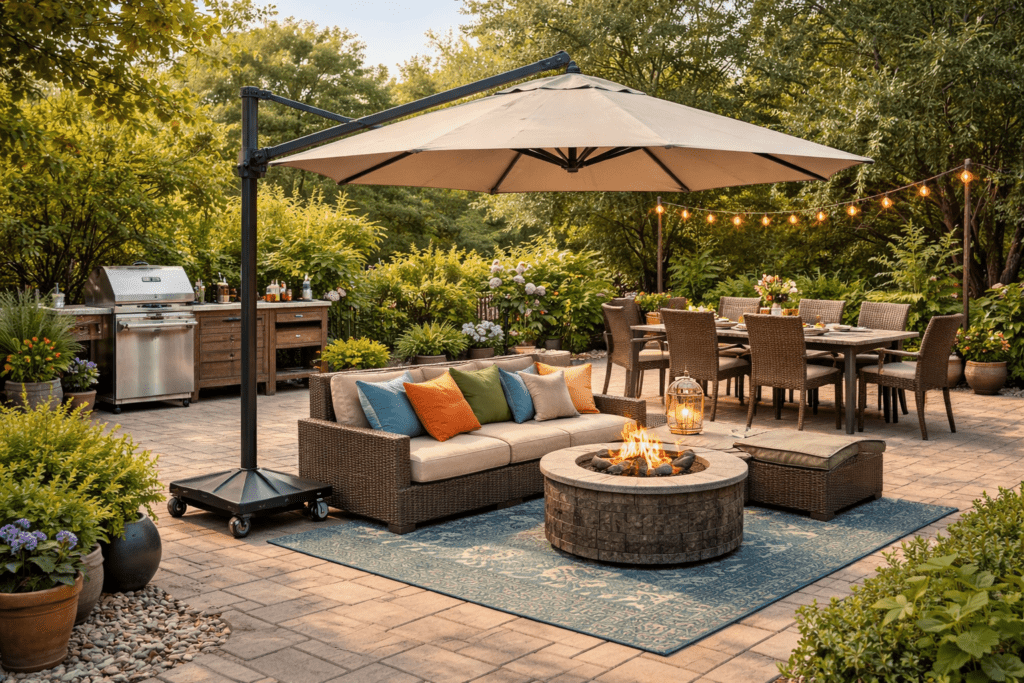
- A table that doubles as prep space and dining
- Seating that works for relaxing and conversation
- Open space that can handle a fire pit or extra chairs
What works best:
- Round or square tables (easier to reposition)
- Lightweight chairs (you’ll move them more than you think)
- Benches (seat more people, store easily)
Real-world tip:
If you can’t reconfigure your space in under 2–3 minutes, it’s not flexible—it’s just “multi-purpose on paper.”
Use Mobile Shade (This Changes Everything)
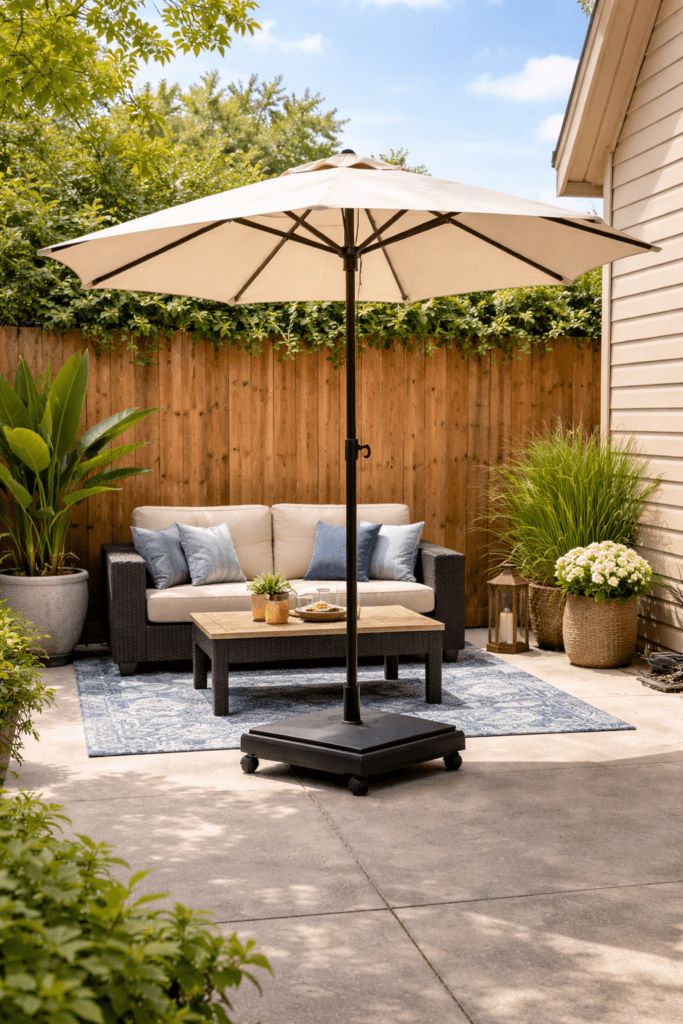
This is where most setups fall apart—shade is fixed, but your needs aren’t. A static umbrella or pergola locks you into one layout. A mobile option gives you control.
If you haven’t looked into rolling or repositionable shade, start here:
👉 Affordable Rolling Umbrellas – Complete Guide
👉 Cantilever Outdoor Umbrellas with Rollling Bases
Why it matters:
- Morning sun vs afternoon sun shifts dramatically
- Guests move—your shade should follow
- You can cover dining, lounging, or even a grill area
Trade-off:
Mobile umbrellas cost more upfront and require a stable base. But they eliminate the need for multiple fixed shade structures.
Choose Furniture That Earns Its Space
Every piece should do at least two jobs.
Best flexible options:
- Modular sectionals (rearrange for solo vs group use)
- Stackable chairs (easy storage)
- Folding tables (expand only when needed)
- Storage benches (seating + hidden storage)
What to avoid:
- Oversized fixed sectionals
- Heavy stone tables (great look, zero flexibility)
- Built-in seating unless your layout is permanent
Reality check:
The more permanent your furniture, the less often you’ll actually use the space in different ways.
Plan for Power, Lighting, and Evenings
Flexibility doesn’t stop at furniture—it extends into time of day.
Must-haves:
- String lights or overhead lighting (sets the base)
- Portable lanterns (move where needed)
- Accessible outlets or extension paths
Common mistake:
People build a beautiful daytime setup… and never use it at night.
Quick win:
Add 2–3 portable lights and you instantly double your usable hours.
Design for Storage (So You’ll Actually Stay Flexible)
Flexibility only works if it’s easy.
If cushions, covers, or accessories are a hassle, you’ll stop switching things up.
Smart storage options:
- Deck boxes for cushions and accessories
- Vertical storage for small patios
- Hidden storage inside benches
Rule:
If setup takes more than 5 minutes, it won’t happen consistently.
Think Through Weather and Wind
A flexible space isn’t just adaptable—it’s resilient.

Key considerations:
- Wind (especially for umbrellas—secure bases matter)
- Sun exposure (materials fade faster than expected)
- Rain (quick-dry cushions or easy storage)
Helpful read:
👉 Best Rolling Umbrellas for Windy Areas
Trade-off:
More flexibility often means lighter, movable items—which can be more vulnerable to weather. Balance mobility with durability.
Build in “Quick Transitions”
This is where your setup goes from good to great.
Ask yourself:
- Can I switch from lounging to dining in under 3 minutes?
- Can I add 2–4 extra seats quickly?
- Can I adjust shade without moving everything?
If not, simplify.
Example setup that works:
- Rolling umbrella (shade anywhere)
- Foldable table (expand when needed)
- Stackable chairs (store nearby)
- Modular seating (reconfigure fast)
Printable Checklist: Flexible Outdoor Setup
Time to Complete: 2–4 hours (initial setup)
Layout
- ☐ Create overlapping zones (not rigid sections)
- ☐ Leave open space for movement
Shade
- ☐ Use movable or adjustable shade
- ☐ Ensure base is stable and weighted
Furniture
- ☐ Choose modular or lightweight pieces
- ☐ Add at least one multi-use item
Lighting
- ☐ Install base lighting (string lights)
- ☐ Add 2–3 portable lights
Storage
- ☐ Include a deck box or storage bench
- ☐ Keep frequently used items accessible
Weather Prep
- ☐ Secure items for wind
- ☐ Use weather-resistant materials
Frequently Asked Questions
What’s the most important feature in a flexible outdoor space?
Mobility. If you can’t move or adjust key elements (shade, seating, table), the space won’t adapt.
Are rolling umbrellas really worth it?
Yes—especially in smaller spaces. They eliminate the need for multiple shade setups and let you adjust throughout the day.
How much space do I need for a flexible setup?
Even a small patio (8×10 ft) can work if you use stackable and multi-use furniture.
What’s the biggest mistake people make?
Overcommitting to one layout—usually a fixed dining or lounge setup that doesn’t adapt.
Can I make an existing patio more flexible without replacing everything?
Absolutely. Start with:
- Adding mobile shade
- Swapping in stackable or lighter chairs
- Introducing portable lighting
Resources
- American Society of Landscape Architects – https://www.asla.org
- U.S. Consumer Product Safety Commission – https://www.cpsc.gov
- National Weather Service – https://www.weather.gov
Final Take
If you take one thing from this—stop designing your outdoor space for a single use. The setups that get used the most aren’t the most expensive or the most stylish—they’re the ones that adapt quickly without friction.
Start simple:
- Make your shade movable
- Keep furniture flexible
- Reduce setup time
Do that, and your outdoor space stops being something you “use occasionally”… and becomes something you actually live in.


